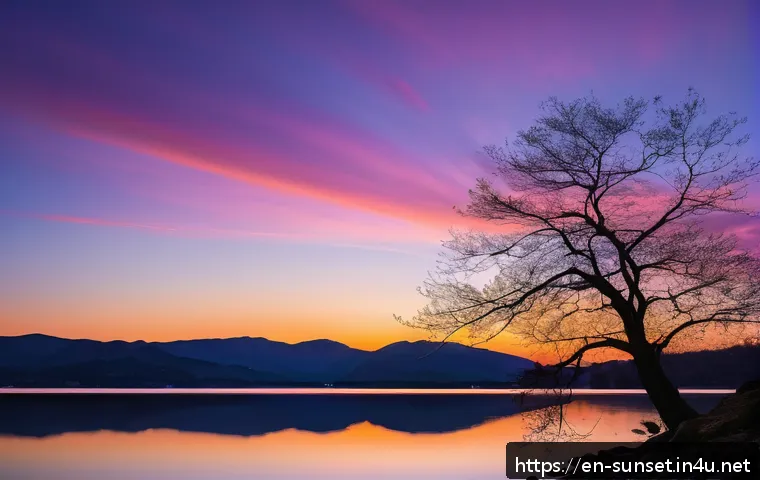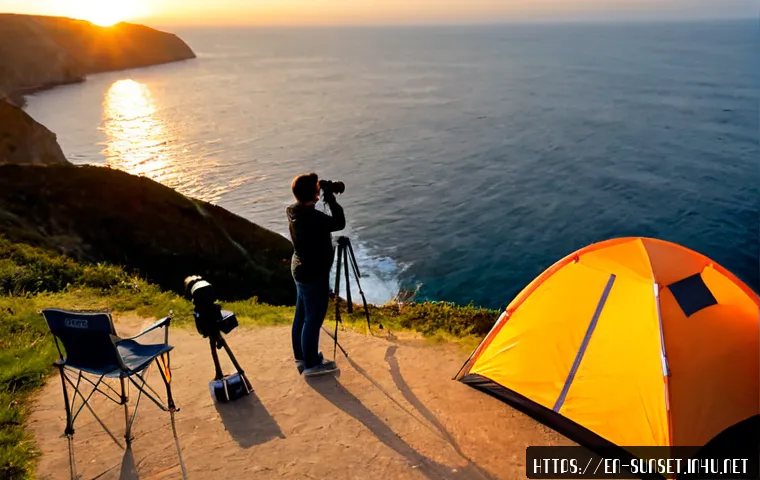
Arrive well before sunset, verify the rules for your specific Sunset Point location, and bring a stable support option such as a tripod. For many travelers, the best choice is a campsite or overlook that matches both their overnight comfort needs and their planned shooting access.
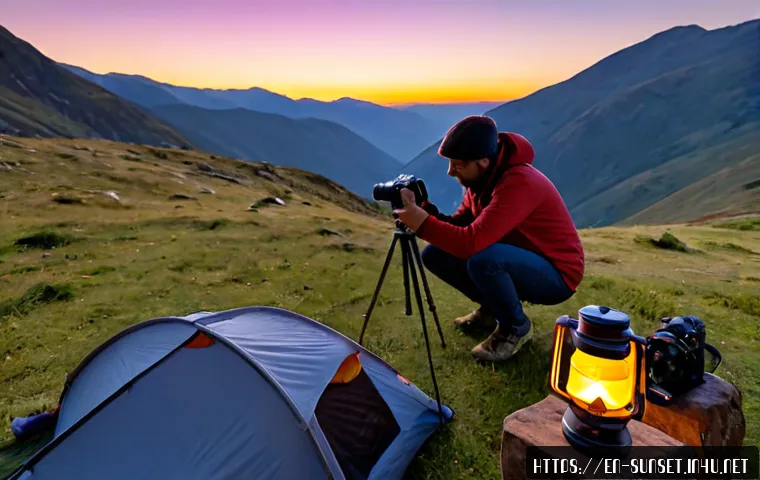
Because “Sunset Point” can refer to different parks, campgrounds, and overlooks, confirm reservations, parking, permits, and after-dark policies before leaving.
A basic DIY setup works well for many phone and camera users, while a camera gear rental can help if you lack one essential item. Guided landscape photography outings can be useful when you want local location support without managing every detail alone.
The key is to keep your plan simple enough that you can focus on the changing light rather than last-minute logistics.
At a Glance
- Arrive before sunset: evening light changes quickly, so leave time to park, walk, scout, and set up.
- Verify location-specific rules: campsite access, quiet hours, vehicle rules, fires, permits, and overnight photography policies can differ.
- Bring stable essentials: a tripod, protected camera bag, and a safe return plan matter more than carrying every accessory.
| Option | Best For | Main Advantage | What to Confirm Before Booking |
|---|---|---|---|
| DIY camping and photography | Travelers with their own equipment and outdoor basics | Flexible pace and full control over the shoot | Campsite access, overnight rules, parking, fire restrictions, and return routes |
| Camera gear rental | Photographers missing a tripod, lens, or other key item | Access to equipment without buying optional gear | Rental availability, pickup timing, protection terms, and return requirements |
| Guided sunset photography outing | Visitors who want local photo support or simpler planning | Help with timing, viewpoints, and shooting workflow | Meeting point, cancellation terms, access permissions, and included equipment |
The Quick Plan for a Successful Sunset Camping Photo Shoot
A successful sunset camping photo shoot starts with a simple sequence: arrive early, confirm where you may stay and photograph, choose one scene, and prepare for the walk back after dark. The light near the horizon changes fast, so the goal is to be ready before the sun is low rather than arriving when the color has already started. Keep your first trip focused on a dependable composition instead of trying to cover every viewpoint.
Arrive Early, Confirm Overnight Rules, and Choose One Primary Composition
Plan to reach the campsite or overlook with enough time to handle parking, check-in, and a short scouting walk. Look for a foreground element, a clear horizon, or a natural leading line that gives the image structure. Then settle on one primary composition before the strongest light arrives.
Check whether your chosen Sunset Point allows access after dark and whether the route back to camp remains open. Quiet hours, vehicle restrictions, fire restrictions, and overnight photography policies may affect your plan. Do not assume that an overlook with daytime access permits late-evening parking or photography.
The Minimum Setup for Phone and Camera Photographers
For a phone photographer, a charged phone, a stable support option, and a way to keep the device clean and dry can be enough. For a camera photographer, bring the camera, a usable lens, charged batteries, storage, and a tripod for lower evening light. A tripod can reduce camera shake when handheld shooting becomes less reliable.
Protect equipment from wind, dust, condensation, and uneven ground. A simple bag or cover can help keep gear together while you move between camp and the viewpoint. Avoid packing accessories that you have not tested or do not expect to use during the short sunset window.
Choose the Right Camping Setup, Viewpoint, and Budget
Your best setup depends on whether camping comfort or direct photo access is the priority. A campsite can make the outing more relaxed, while an overlook may offer a faster route to the horizon. Before spending on a reservation, camera gear rental, or guided photography experience, compare what each option actually solves for your trip.
Campsite Versus Overlook: Comfort, Access, and Photo Opportunities
A campsite may offer a place to rest, organize equipment, and stay overnight, but it may not have an open western view or direct access to a scenic horizon. An overlook may be better for the photograph, yet it can have separate parking rules, limited hours, or a longer walk from camp. Consider where you will shoot and how you will return after the light fades.
If your main goal is photography, check the distance between the campsite and the selected viewpoint. If your main goal is a comfortable camping night with a few sunset images, a campsite with convenient access may be the better tradeoff.
DIY Gear, Camera Rentals, and Guided Outings Compared
DIY planning is practical when you already have dependable equipment and are comfortable reading location rules. A camera gear rental may make sense if one missing item, such as a stable tripod, would improve your ability to shoot in fading light. It is generally more useful to rent one essential item than to build an unfamiliar, complicated kit.
A guided landscape photography outing can be worth considering when you are unfamiliar with the area, want help finding a composition, or prefer support with timing and access planning. Review what the service includes rather than assuming transportation, permits, equipment, or after-dark access are covered.
What to Verify Before Paying for a Reservation or Tour
Before making a campsite reservation or booking a photography service, verify the managing authority, exact location, parking rules, and cancellation terms. Ask whether permits, entry fees, or reservations apply to the campsite, the overlook, or both. Also confirm whether commercial photography, drones, fires, and after-dark access are allowed for your specific destination.
Availability and rules can change, so use the official location information and the provider’s current terms before making a payment.
Build a Sunset Shooting Workflow That Works at Camp
A repeatable workflow keeps you from rushing during the best light. Scout first, set up on stable ground, protect the equipment, and keep watching how the color and contrast change. Your camping routine should support the photo session, not compete with it.
Scout the Foreground and Horizon Before Golden Hour
Walk the area while there is still clear daylight. Check whether trees, rocks, tents, railings, or other features block the horizon. Look for a foreground that adds depth, but do not place yourself where uneven ground or loose surfaces make the setup unstable.
Choose a position that allows you to stay put as the light changes. Moving repeatedly during sunset can mean missing the brief moments you came to photograph.
Set Up a Stable Tripod Position and Protect Equipment From Dust or Moisture
Place the tripod on the most stable ground available and make sure it is not likely to shift in wind or on loose soil. Keep the camera bag closed when it is not in use, especially in dusty conditions. Condensation can also affect equipment, so avoid leaving lenses and camera bodies exposed unnecessarily.
If you are using a phone, stable support is still valuable. A small support setup can help you slow down, frame carefully, and avoid blur as the light gets lower.
Capture the Changing Light From Golden Hour Through Blue Hour
Do not stop shooting the moment the sun reaches the horizon. The scene can continue changing after sunset, with softer color and lower overall light. This is when a stable tripod becomes especially useful for camera users.
Review a few images along the way, but avoid spending the entire session on the screen. Keep your eyes on the landscape, maintain your chosen composition, and leave enough time to pack up before your safe return route becomes difficult to follow.
Avoid Common Camping and Low-Light Photography Mistakes
Most sunset photo problems are planning problems, not camera problems. Late arrival, unclear access rules, and an overloaded bag can turn a promising evening into a rushed one. A few basic checks reduce those risks.
Missing the Best Light by Arriving at Sunset Instead of Before It
Arriving exactly at sunset often means you are still parking, walking, or deciding where to stand while the light is changing. Build in time for setup and composition. The useful window begins before the sun touches the horizon, not only at the final moment.
Ignoring Campsite Rules, Road Access, and Safe Return Routes
Do not assume the same rules apply everywhere called Sunset Point. Confirm the specific location’s road access, parking limits, quiet hours, and overnight policies. Before darkness, identify how you will return to camp or your vehicle without relying on unfamiliar terrain.
Overpacking Gear Instead of Bringing Reliable Essentials
A large gear bag can make a short walk harder and distract from the shoot. Prioritize a charged device or camera, dependable storage, stable support, and basic protection from dust or moisture. Optional lenses and accessories should earn their space by serving a clear purpose.
Plan by Travel Style and Photography Experience
The right level of planning changes with your equipment and confidence outdoors. A smartphone user may need only a clear access plan and stable support, while a camera owner may benefit from a tripod and a more deliberate low-light workflow. Travelers without outdoor gear may prefer a reservation with straightforward access or a guided option.
A Simple Plan for Smartphone Photographers
Choose one accessible viewpoint, arrive early, and use stable support if possible. Keep your phone charged and protected from dust or moisture. Focus on clean framing: a visible horizon, a simple foreground, and enough time to capture the light as it changes.
A Practical Approach for DSLR and Mirrorless Users
Bring the camera setup you know how to use in changing light. A tripod is a practical addition for lower-light scenes, especially after sunset. Check your footing, protect lenses from wind and dust, and avoid changing equipment repeatedly during the most active part of the evening.
When a Guided Landscape Photography Trip May Be Worth the Cost
A guided outing may be useful if you want support with local timing, viewpoint selection, or general shooting flow. It can also simplify planning when you are traveling without camping equipment or unfamiliar with the destination. Compare the itinerary, access details, included services, and cancellation terms before booking.
Selection Criteria and Comparison Summary
Use these final checks before choosing a campsite reservation, camera gear rental, or guided photography option:
- Access: Can you legally reach the viewpoint, park, and return after sunset?
- Comfort: Does the campsite meet your overnight needs while remaining practical for photography?
- Equipment: Do you already have a stable support option, or would a rental solve a real gap?
- Terms: Have you checked availability, permits, entry rules, rental conditions, and cancellation policies?
- Support: Would a guided landscape photography experience reduce meaningful uncertainty for this trip?
Compare campsite access, rental availability, and cancellation terms before booking. For official rules and detailed conditions, check the relevant campground, park authority, rental provider, or tour page.
In Closing
A sunset camping photo shoot does not require an oversized kit or a complicated plan. It does require early arrival, a stable shooting position, and careful verification of the rules at your exact Sunset Point destination. Choose the camping, rental, or guided option that removes your biggest obstacle. Then keep the evening simple enough to enjoy both the campsite and the light.
Useful Things to Know
Sunset Point is not one universal location. Confirm the exact park, overlook, or campground before planning travel.
After-dark access may be different from daytime access. Check roads, parking, and photography rules in advance.
A tripod is a practical low-light tool. It can help reduce camera shake as evening light fades.
Important Notes
Specific campsite availability, prices, permit requirements, weather, wildlife conditions, road closures, and sunset visibility are not fixed across locations. Commercial photography, drone use, fires, and overnight photography may also have separate restrictions. Verify current information with the managing authority and any booking provider before traveling or paying for a service.
Frequently Asked Questions
Q1. How early should I arrive for sunset photography while camping?
A1. Arrive before sunset with enough time to park, confirm access, walk to your viewpoint, scout the composition, and set up. Sunset light changes quickly, so being ready before the sun reaches the horizon is generally important.
Q2. Is it worth renting a camera lens or tripod for a sunset camping trip?
A2. A rental can be worthwhile when it fills an essential gap in your setup. A tripod is often useful in lower evening light because it can reduce camera shake. Compare rental availability, pickup timing, terms, and whether the item will genuinely improve your planned photos.
Q3. What should I check before booking a campsite near a sunset viewpoint?
A3. Check the exact campsite location, distance to the viewpoint, parking rules, quiet hours, vehicle restrictions, fire restrictions, permits, entry fees, and after-dark access. Compare campsite access, rental availability, and cancellation terms before booking, since rules vary by the specific Sunset Point location and managing authority.