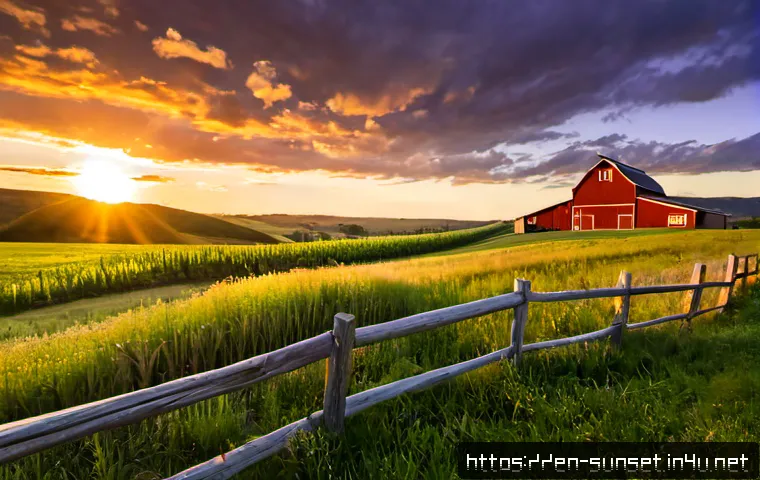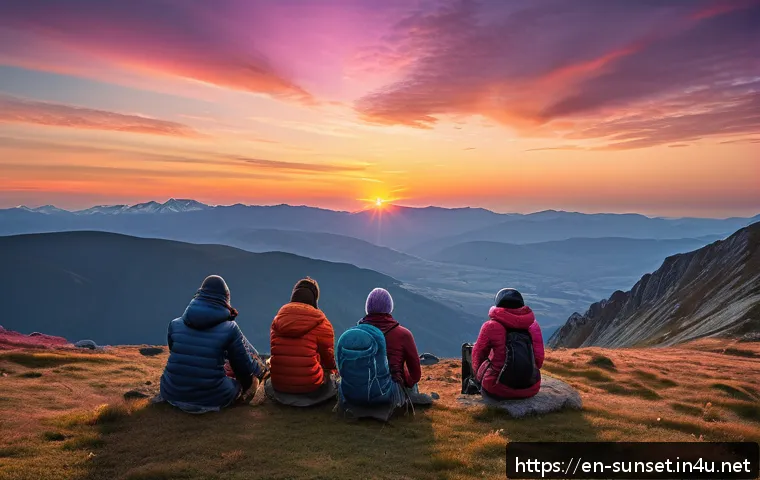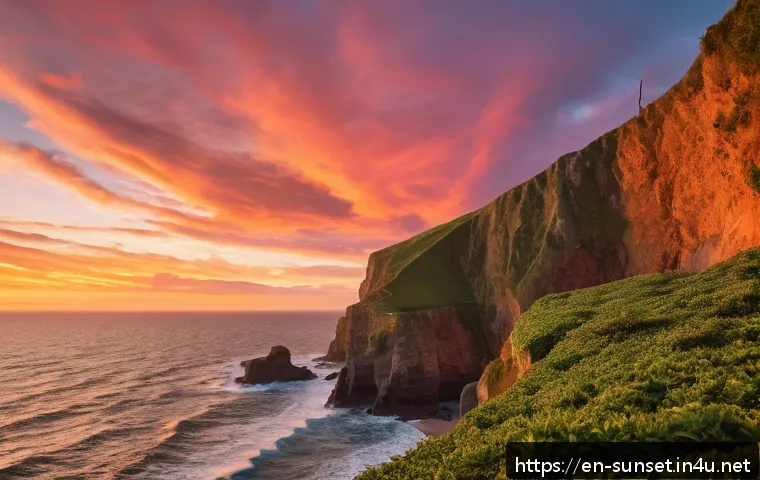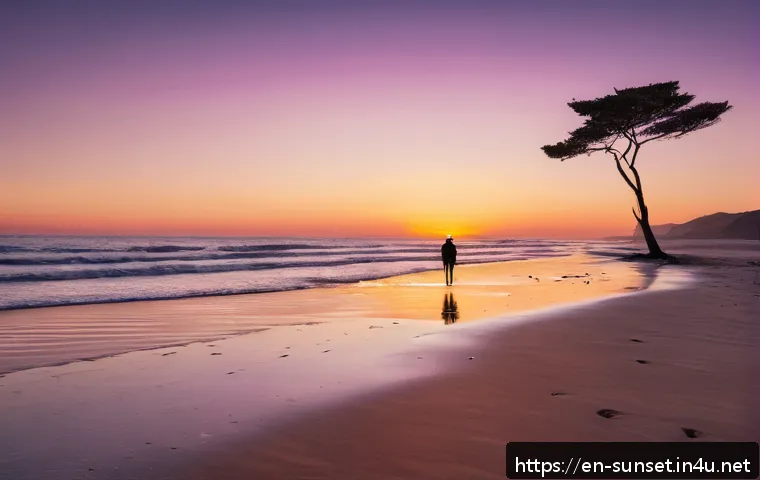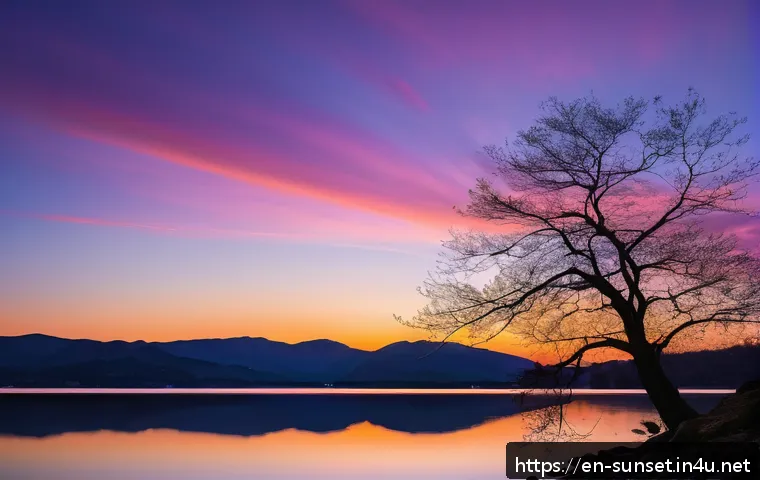
Have you ever found yourself mesmerized by the warm, golden hues of a sunset, wishing you could capture that magic perfectly? With the surge in outdoor photography trends and the rising popularity of social media platforms showcasing stunning golden hour shots, mastering Sunset Point photography has never been more relevant.
Whether you’re a beginner eager to improve or an enthusiast looking to refine your skills, understanding the secrets behind those breathtaking moments can transform your work.
Stick around as we dive into tips and techniques that will elevate your sunset photography game and help you create images that truly stand out. Get ready to turn fleeting moments into timeless memories!
Choosing the Perfect Location for Capturing Sunset Magic
Scout Ahead: Why Pre-Planning Makes All the Difference
Finding the ideal spot before the sun starts its descent can completely change the outcome of your photos. I remember the first time I tried to shoot at a well-known sunset point without scouting the area beforehand—I ended up with a cluttered background and awkward angles that ruined the golden light’s effect.
When you take time to visit potential locations early in the day or even a day before, you can identify the best vantage points, natural frames, and interesting foreground elements that will add depth to your images.
Plus, knowing where the sun sets in relation to your surroundings helps you anticipate how shadows and colors will play across the scene.
Natural Elements That Enhance Your Composition
Including natural elements like trees, rocks, water reflections, or silhouetted figures can elevate a sunset photo from ordinary to stunning. I often look for bodies of water because the reflections double the warm hues and create a dreamy effect.
Similarly, using tree branches or architectural features as frames can guide viewers’ eyes towards the glowing horizon. The key is to balance these elements without overwhelming the main subject—the sunset itself.
Experiment with different angles and distances to see how these components interact with the light.
Weather’s Role in Creating Dramatic Skies
Clear skies offer classic golden hues, but sometimes a few scattered clouds can make your sunset photos truly unforgettable. From personal experience, I’ve noticed that partly cloudy evenings tend to produce more dynamic, colorful skies as the sun’s rays scatter and bounce off the clouds.
On the other hand, overcast conditions often mute the scene, which can be perfect for moody or minimalist shots but less ideal for vibrant colors. Always check the weather forecast and keep an eye on the sky as the sun approaches the horizon to adapt your shooting plan.
Mastering Your Camera Settings for Golden Hour Brilliance
Understanding Exposure and ISO for Low-Light Conditions
As the sun dips, lighting conditions change rapidly, so adjusting your camera settings on the fly is essential. I usually start with a low ISO (around 100-200) to keep noise minimal and increase it only if the light drops too fast.
Balancing aperture and shutter speed is crucial too—wider apertures let in more light and create a nice bokeh effect on foreground elements, while slower shutter speeds capture richer colors but may require a tripod to avoid blur.
Don’t hesitate to bracket your shots by taking multiple exposures to find the perfect balance or create HDR images later.
Using White Balance to Capture Warm Tones Accurately
White balance can make or break the mood of your sunset shots. Auto mode tends to neutralize warm colors, which is counterproductive when you want to emphasize those rich oranges and pinks.
I recommend switching to the “Cloudy” or “Shade” preset on your camera, which naturally enhances warmth. For more control, shooting in RAW format allows you to fine-tune white balance during post-processing without degrading image quality, giving you the flexibility to enhance the sunset’s golden glow exactly as you remember it.
Focus Techniques to Keep Your Sunset Crisp
Achieving sharp focus during sunset can be tricky, especially as light fades. Manual focus often works best because autofocus can struggle with low contrast and changing light.
I like to focus on a prominent silhouette or a feature in the foreground to anchor the scene, then use a smaller aperture (like f/8 or f/11) to increase depth of field and keep everything from foreground to horizon sharp.
If you’re including people or objects close to the camera, make sure to adjust focus accordingly to avoid a blurry foreground.
Timing Your Shots: Capturing the Peak Moments of Golden Hour
Why Arriving Early Pays Off
I’ve learned that showing up at least 30 minutes before sunset is a game-changer. This extra time allows you to set up your equipment, experiment with compositions, and catch the subtle changes in light as the sun approaches the horizon.
The moments just before the sun dips below the skyline often produce soft, golden light that’s perfect for portraits or landscapes. Plus, you can capture the transition from day to twilight, adding a narrative element to your photo series.
Chasing the Afterglow: Don’t Pack Up Too Soon
Many photographers miss the best part by leaving right after the sun disappears. I’ve stayed well after sunset and witnessed the sky explode with purples, deep reds, and blues—a breathtaking afterglow that lasts about 20 to 30 minutes.
This time frame offers unique color palettes and moods that can add variety and emotion to your sunset portfolio. Keep shooting and adjusting your settings because the light changes quickly and unpredictably.
Planning Around the Golden Hour Duration
Golden hour doesn’t last forever, and its duration varies by location and season. Near the equator, it’s shorter, while farther from it, the light lingers longer.
Using apps like PhotoPills or The Photographer’s Ephemeris can help you pinpoint exactly when golden hour starts and ends at your location. Knowing this helps you plan your shoot efficiently, so you’re not caught off guard or scrambling to catch fleeting light.
Creative Approaches to Elevate Sunset Photography
Silhouettes: Telling Stories Through Shadows
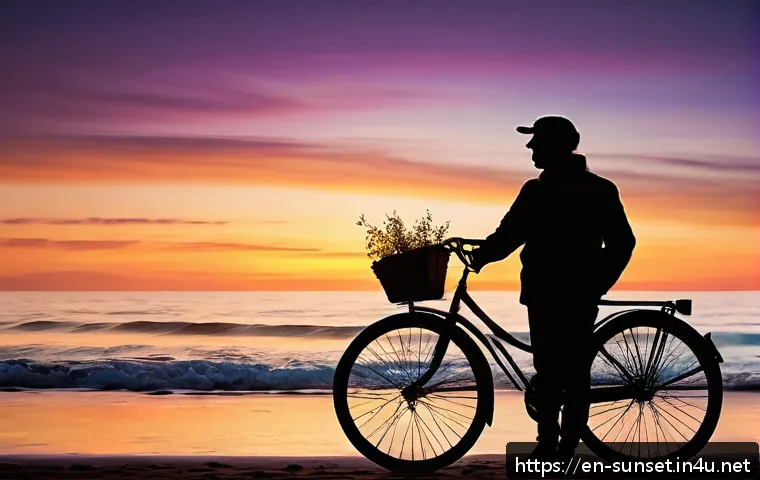
Silhouettes add drama and mystery to sunset images by emphasizing shapes against vibrant skies. I often ask friends to pose or use interesting objects like bicycles or tree branches to create strong, recognizable outlines.
To achieve this, expose for the sky rather than the subject, which turns foreground elements into dark, compelling forms. The contrast between the silhouette and colorful backdrop can convey emotion and invite viewers to imagine the story behind the frame.
Playing with Reflections and Water Surfaces
Water bodies are some of my favorite elements for sunset photography because they double the colors and add texture. Shooting at lakes, calm rivers, or even wet sand can create mirror-like reflections that intensify the scene’s beauty.
Try different angles close to the water surface to maximize reflection or incorporate ripples for a painterly effect. Early morning or late evening, when the water is often stiller, offers the best chances for crisp reflections.
Incorporating Movement to Add Life
Adding movement, like waves crashing, leaves rustling, or people walking, can bring energy and narrative to sunset photos. I use slower shutter speeds to blur motion artistically, which contrasts nicely with the sharp, glowing sky.
For example, a long exposure of ocean waves during sunset creates a silky, ethereal foreground that complements the warm light. This technique requires patience and a steady tripod but yields captivating results that stand out from static shots.
Essential Gear Tips for Sunset Photography Success
Tripods: Stability for Sharp Images
A sturdy tripod is a must-have for sunset photography, especially as light fades and shutter speeds slow down. I’ve ruined countless shots by trying to handhold my camera in low light, resulting in blur and frustration.
Investing in a lightweight but stable tripod allows you to experiment with long exposures and bracketing without worrying about camera shake. Plus, it frees your hands for adjusting settings or using remote triggers.
Filters to Control Light and Enhance Colors
Using filters like graduated neutral density (ND) or polarizers can dramatically improve sunset photos. Graduated ND filters help balance exposure between the bright sky and darker foreground, preserving details in both areas.
Polarizers reduce glare and deepen blue tones, making sunsets more vivid. I often carry a set of these filters and switch between them depending on conditions—having the right filter can be the difference between a good shot and a breathtaking one.
Camera and Lens Recommendations for Sunset Shoots
While any camera can capture sunsets, DSLRs or mirrorless cameras with manual controls give you greater flexibility. I prefer wide-angle lenses (16-35mm) to encompass sweeping landscapes but also bring a 50mm or 85mm for tighter compositions and portraits.
Fast lenses with apertures like f/1.8 or f/2.8 allow more light in, which is helpful as the sun sets. Having a versatile kit means you can adapt to different scenes and creative ideas on the fly.
Post-Processing Techniques to Enhance Your Sunset Photos
Balancing Colors Without Overdoing It
Editing is where your sunset images really come alive, but it’s easy to go overboard. From my experience, subtle adjustments to contrast, vibrance, and saturation enhance the natural beauty without making the photo look artificial.
Focus on boosting warm tones like reds, oranges, and yellows while preserving the sky’s gradient. Using tools like Lightroom’s graduated filter helps fine-tune specific parts of the image, such as darkening the foreground or brightening the sky.
Highlight and Shadow Recovery
Sunset scenes often have extreme contrasts, causing loss of detail in shadows or highlights. I always check my histogram and use highlight recovery to bring back details in bright areas like the sun or clouds.
Similarly, lifting shadows can reveal textures in dark foregrounds without flattening the image. This balance creates depth and a more immersive viewing experience, making the photo feel as vivid as the moment I captured.
Sharpening and Noise Reduction Strategies
As light dims, higher ISO settings can introduce noise, and details can get soft. I apply selective sharpening on key elements like silhouetted trees or horizon lines while applying noise reduction mainly on smooth areas like the sky.
The goal is to keep the image crisp without creating unnatural artifacts. Over-sharpening is a common pitfall that can make photos look harsh, so I tweak settings carefully based on the image’s resolution and intended use.
Common Challenges and How to Overcome Them
Dealing with Lens Flare
Lens flare can either add artistic flair or become a distracting element. I’ve faced situations where the sun directly hit my lens, causing unwanted bright spots or haze.
Using a lens hood helps reduce flare, and adjusting your shooting angle slightly can minimize it as well. Sometimes embracing the flare creatively adds mood, but if it overwhelms your image, try repositioning or use post-processing to tone it down.
Managing Rapidly Changing Light
Sunset light changes fast, making it challenging to keep up. I find it helpful to shoot in burst mode during peak moments and bracket exposures to ensure I don’t miss the perfect shot.
Staying calm and adapting quickly—rather than panicking over missed frames—makes the process enjoyable. Practice and familiarity with your gear speed up your response time, allowing you to capture fleeting magic consistently.
Handling Crowds at Popular Sunset Spots
Popular locations can get crowded, especially during golden hour, which can disrupt your composition or create unwanted photobombers. Arriving early, using longer lenses to isolate subjects, or exploring less-known vantage points can help you avoid the rush.
Sometimes, including people intentionally adds scale and story to your images, so stay flexible and use the environment to your advantage.
| Aspect | Recommended Settings/Tools | Tips |
|---|---|---|
| ISO | 100-200 (increase if needed) | Keep low for less noise; raise in low light cautiously |
| Aperture | f/8 – f/11 for landscapes; f/1.8 – f/2.8 for portraits | Smaller aperture for depth; wider for subject isolation |
| Shutter Speed | Varies: 1/60 sec to several seconds | Use tripod for slow speeds; adjust for motion blur |
| White Balance | Cloudy or Shade preset; RAW for post-adjustment | Enhances warm tones, avoid Auto WB |
| Filters | Graduated ND, Polarizer | Balance exposure; reduce glare and deepen colors |
| Gear | DSLR/Mirrorless, Wide-angle and prime lenses, Tripod | Flexibility and stability are key |
Conclusion
Capturing the magic of sunsets requires thoughtful preparation, a good understanding of your camera settings, and a creative eye for composition. By scouting locations, mastering timing, and experimenting with techniques like silhouettes and reflections, you can transform ordinary scenes into breathtaking images. Remember, patience and adaptability are key to making the most of those fleeting golden moments.
Helpful Tips to Remember
1. Always arrive early to set up and explore different angles before the sun starts to set.
2. Use natural elements like water or trees to add depth and interest to your photos.
3. Adjust your camera’s white balance away from auto to better capture warm sunset tones.
4. Bring a tripod and filters to stabilize your shots and manage lighting effectively.
5. Don’t rush to pack up right after sunset; the afterglow often offers stunning colors worth capturing.
Key Takeaways
Choosing the right location and timing plays a crucial role in sunset photography success. Understanding your camera’s settings, especially exposure and focus, helps you adapt to rapidly changing light. Incorporating creative elements like silhouettes and reflections can add storytelling and visual interest. Lastly, having essential gear like a tripod and filters makes a significant difference in the quality of your shots. Staying patient and flexible ensures you never miss the perfect moment.
Frequently Asked Questions (FAQ) 📖
Q: What is the best time to shoot at Sunset Point for capturing the perfect golden hour?
A: The ideal time to shoot at Sunset Point is typically about 20 to 40 minutes before the sun dips below the horizon and extends slightly after it sets. This window is known as the golden hour, when the sunlight is soft, warm, and diffused, creating those magical golden hues.
Arriving early gives you time to scout your location, set up your gear, and catch the subtle changes in light. From my experience, patience is key—sometimes the most stunning colors emerge just minutes after the sun disappears, so don’t pack up too soon!
Q: What camera settings work best for capturing vibrant sunsets without losing detail?
A: To capture vibrant sunsets, start with a low ISO around 100 or 200 to minimize noise and preserve image quality. Use a narrow aperture (around f/8 to f/16) to keep most of the scene in sharp focus and enhance depth of field.
Shutter speed will vary depending on the light, but using a tripod helps you keep it slow without blur. Also, shooting in RAW format is a game changer—it allows you to recover details in shadows and highlights during editing.
Personally, I find bracketing exposures helpful to blend the best parts of multiple shots and achieve balanced, rich colors.
Q: How can I make my sunset photos stand out on social media among countless others?
A: To make your sunset photos pop on social media, focus on composition and storytelling. Include interesting foreground elements like silhouettes of trees, people, or landmarks to add depth and context.
Play with reflections in water or clouds to create dynamic visuals. Editing is equally important—boosting contrast, adjusting warmth, and selectively enhancing colors can bring out the mood without overdoing it.
From what I’ve noticed, captions that share your personal experience or the story behind the shot engage viewers more deeply, encouraging likes and shares.
Consistency in style and posting time also helps build your audience over time.