Hey there, fellow shutterbugs! There’s nothing quite like the breathtaking spectacle of a sunset, right? That fleeting moment when the sky explodes with color, leaving you in awe.
But as the last rays fade and twilight descends, a whole new, even more captivating photographic challenge emerges – capturing the mystique of the night at those very same sunset points.
I’ve personally spent countless hours out there, freezing in the dark and experimenting with every lens and setting imaginable, all to master those elusive, star-dusted landscapes after the golden hour.
It’s an adventure, sometimes a frustrating one, but always incredibly rewarding when you nail that perfect shot. If you’ve ever dreamt of transforming those dim, fading moments into truly spectacular nightscapes but weren’t quite sure where to begin, or if you simply want to elevate your existing skills, you’re absolutely in for a treat.
I’m excited to share my go-to tips and personal strategies that have helped me capture some of my most cherished night photos, ensuring your efforts result in stunning images every single time.
Let’s dive deep into the world of night photography at sunset points and unlock your full creative potential!
Gear Up Like a Pro: My Essential Night Photography Kit
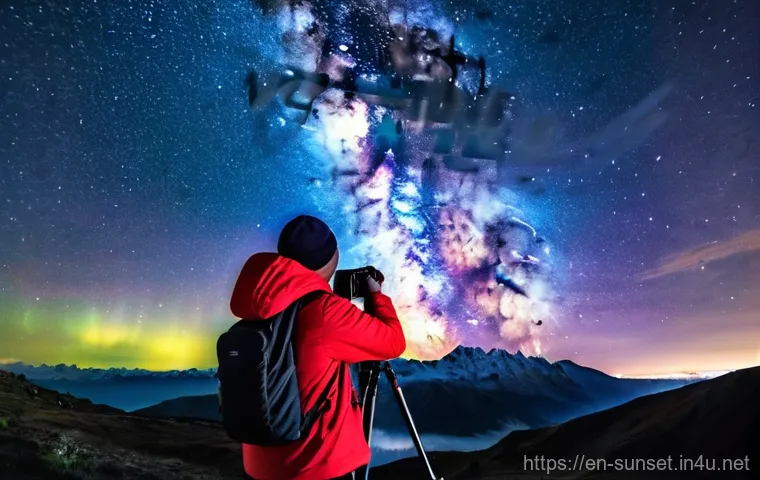
The Unsung Heroes: Sturdy Tripod and Remote Shutter Release
Honestly, folks, if there’s one thing I’ve learned from countless chilly nights chasing stars, it’s that a rock-solid tripod isn’t just a suggestion—it’s an absolute necessity.
You simply cannot get sharp night photos without one. I remember one early attempt, trying to lean my camera against a rock, thinking I could get away with it.
Let’s just say the resulting blur was artistic, but not in the way I intended! Look for something robust, preferably carbon fiber if you’re hiking, as it shaves off crucial weight.
Manfrotto and Gitzo have been my trusted companions for years, but there are plenty of other fantastic options out there. And while you’re at it, don’t forget a remote shutter release.
Whether it’s a simple cable release or a wireless trigger, it prevents any camera shake when you press the shutter button, which is surprisingly significant when you’re talking about exposures that last 15, 20, or even 30 seconds.
I’ve even seen folks use their phone apps for this, which is super convenient if your camera supports it. It’s all about minimizing movement, even the tiniest vibrations from your finger can ruin a long exposure.
Trust me, investing in these two items will elevate your night photography game dramatically.
Lens Love: Wide and Fast is the Way to Go
When it comes to lenses for night photography, my heart truly belongs to wide-angle, fast prime lenses. We’re talking f/2.8 or wider, and typically something in the 14mm to 24mm range on a full-frame sensor.
Why? Because a wider aperture (like f/2.8) lets in a tremendous amount of light, which is exactly what you need when you’re shooting in near-total darkness.
This allows you to keep your ISO a bit lower, leading to cleaner images with less digital noise. And that wide focal length? It helps you capture expansive views of the night sky, fitting in those sweeping constellations and the dramatic foreground elements of your sunset point.
I’ve personally used my 14mm f/2.8 for some of my most cherished Milky Way shots, and the results are always breathtaking. Zoom lenses can work, of course, but often they’re not as fast, meaning you’ll either need higher ISOs or longer exposures, both of which have their own challenges.
My personal recommendation for anyone serious about nightscapes is to save up for a quality fast prime; it truly makes a world of difference in the quality and clarity of your images.
Don’t forget extra batteries too! Cold temperatures drain them much faster than you’d expect, and there’s nothing worse than running out of juice just as the Milky Way is perfectly aligned.
Unlocking Your Camera’s Potential: Settings for the Dark
Manual Mode Mastery: Your Best Friend After Dusk
Let’s get real for a moment: auto mode is fantastic for quick snaps in broad daylight, but when the sun dips below the horizon and the stars come out, it’s time to take the reins yourself.
Manual mode is where the magic truly happens in night photography. I remember my first few attempts, still clinging to aperture priority, hoping the camera would figure it out.
It didn’t. The images were either wildly underexposed or a blurry mess. Switching to full manual control was a game-changer.
It allows you to precisely dial in your ISO, aperture, and shutter speed, giving you complete creative control over how much light hits your sensor. For instance, I typically start with my aperture wide open (f/2.8, for example), then set my shutter speed to something like 20-30 seconds (using the “500 Rule” or “Nikon D850 rule” as a rough guide to avoid star trails – more on that later!).
Then, I adjust my ISO until the exposure looks right on my camera’s LCD. It’s a delicate dance of these three settings, balancing light gathering with noise reduction and avoiding star trails, but once you get the hang of it, you’ll never look back.
It takes practice, absolutely, but the payoff is incredible, allowing you to capture scenes that would be impossible otherwise.
The ISO Sweet Spot and Shutter Speed Secrets
Finding the right ISO is crucial for night shots. Too low, and your image will be too dark; too high, and you’ll introduce a lot of distracting digital noise.
My personal sweet spot often falls between ISO 1600 and 6400, depending on the ambient light and how clean my camera sensor performs at higher ISOs. Each camera sensor handles noise differently, so it’s worth doing a few test shots at home to find your camera’s limits.
I’ve found that pushing too far beyond ISO 6400 often results in noise that even advanced post-processing struggles to clean up without sacrificing detail.
As for shutter speed, it’s a bit of a balancing act. You want it long enough to gather sufficient light, but not so long that the stars start to trail across your frame.
The “500 Rule” is a classic starting point: divide 500 by your focal length (e.g., 500 / 14mm = ~35 seconds). For crop sensor cameras, you need to factor in the crop factor (e.g., 500 / (14mm * 1.5) = ~23 seconds).
However, I’ve personally found that modern, higher-resolution sensors often show trails even at these speeds, so I tend to be more conservative, often aiming for 15-25 seconds for tack-sharp stars.
Experimentation is key here; what works perfectly for one scene might need tweaking for another, depending on the moon phase, light pollution, and your desired aesthetic.
Composing for the Cosmos: Crafting Your Nighttime Narrative
Foreground First: The Key to Compelling Nightscapes
When I first started out, I was so focused on the stars that I completely forgot about the ground beneath my feet! My early night photos were often just a dark, uninteresting foreground with a sky full of stars.
While technically “night photography,” they lacked a certain punch. What I quickly learned, and what I now preach constantly, is the importance of a compelling foreground.
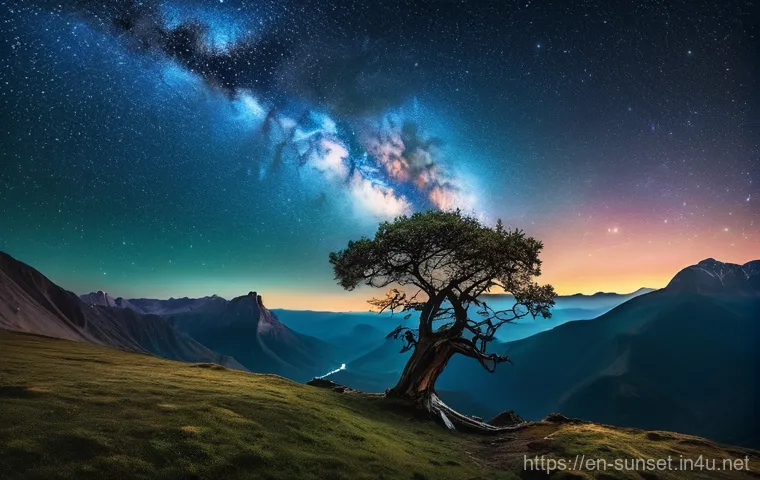
It’s what transforms a simple star photo into a breathtaking nightscape. Think about it: a gnarled old tree, a serene lake reflecting the sky, or even an interesting rock formation can anchor your image and provide a sense of scale and depth.
I often arrive at my sunset points well before dark, not just to catch the golden hour, but to scout out interesting foreground elements that will shine under the moonlight or with a little light painting.
Sometimes, it’s just a matter of moving a few feet to the left or right, or dropping down on one knee to get a different perspective. Don’t be afraid to experiment.
A strong foreground isn’t just about what’s there; it’s about how you frame it, how it interacts with the sky, and how it draws the viewer’s eye into your scene.
It’s the storytelling element that makes your night shots truly memorable.
The Rule of Thirds and Beyond: Dynamic Compositions
The Rule of Thirds is a cornerstone of photography composition, and it holds just as true, if not more so, in night photography. Placing your main points of interest—whether it’s the brightest star, the core of the Milky Way, or a striking foreground element—along the intersecting lines or points of the grid can instantly make your images more balanced and engaging.
However, don’t let it become a rigid rule you can’t break! I’ve found that sometimes, especially when dealing with the vastness of the night sky, a more central composition can be incredibly powerful, especially if your subject is symmetrical or overwhelmingly dominant.
For example, if I’m capturing a lone lighthouse under a full moon, I might deliberately place it smack in the middle to emphasize its presence. Leading lines, which guide the viewer’s eye from the foreground up into the celestial wonders, are another fantastic compositional tool.
Think about a winding road, a fence line, or even the natural lines formed by mountains. These elements add depth and dynamism to your nightscapes, drawing your audience deeper into the scene you’ve captured.
Ultimately, composition is about guiding the viewer’s eye and creating visual harmony, and while rules are great starting points, knowing when to break them is where true artistry emerges.
Illuminating the Darkness: Creative Light Painting Techniques
Gentle Glows: Light Painting for Depth and Detail
One of my favorite tricks for adding a little extra magic to my night photos, especially when shooting at those familiar sunset points, is light painting.
This isn’t about blasting your foreground with a harsh beam; it’s about subtle, controlled illumination that brings out detail and adds depth without looking artificial.
I usually carry a small, dim LED flashlight with adjustable brightness and color temperature. During a long exposure, I’ll briefly “paint” light onto my foreground subjects—maybe a weathered rock, a old tree trunk, or an interesting texture—for just a few seconds.
The key is to keep moving the light source to avoid hot spots and to use a very low power setting. It’s like using a paintbrush, but with light! I’ve even seen photographers use colored gels over their flashlights to add a specific mood to their scene, which is something I’m experimenting with more these days.
The goal isn’t to make it look like daylight, but to reveal details that would otherwise be lost in shadow, making your foreground elements stand out against the brilliant night sky.
It takes a bit of practice to get the intensity and duration just right, but when you nail it, the results are simply stunning and add a unique, personal touch to your work.
Beyond the Flashlight: Natural and Artificial Light Sources
While my trusty LED flashlight is often my go-to, light painting isn’t limited to just that. The moon itself is nature’s most magnificent light source for night photography.
On nights with a decent moon phase, its soft, ambient light can beautifully illuminate your entire landscape, often creating a breathtaking balance between the terrestrial and celestial.
I’ve found that a half-moon can be perfect for this, providing enough light to define the foreground without washing out too many stars. Then there are other artificial light sources: distant city glow, car headlights, even the glow from a nearby campire can all be integrated into your composition.
Just be mindful of how these elements might impact your exposure and overall mood. For instance, car headlights moving through a scene during a long exposure can create dramatic light trails that can either enhance or detract from your image, depending on your vision.
I’ve spent countless hours experimenting with different light sources, trying to understand how they interact with my scene and how I can harness them creatively.
The beauty of night photography is that the “rules” are often just suggestions, and your creativity is the only real limit to what you can achieve with light.
The Post-Processing Alchemy: Bringing Your Night Shots to Life
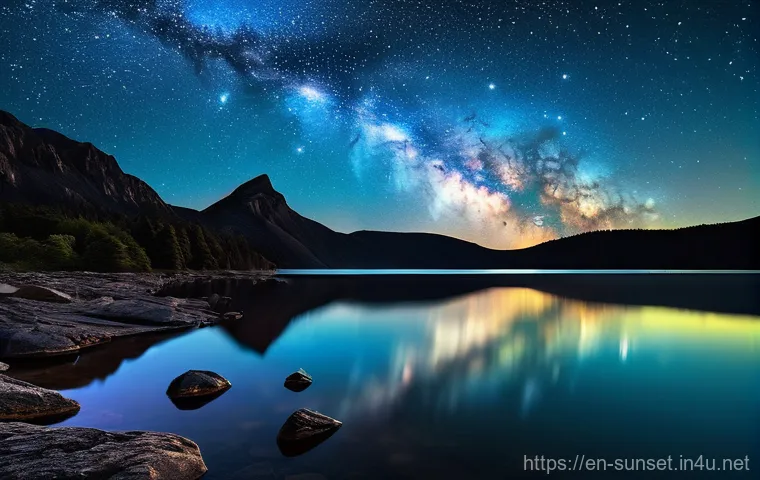
Enhancing the Stars: My Workflow for Celestial Clarity
After a chilly night under the stars, the real magic often happens back home, in front of my computer screen. Post-processing is where I truly bring my night photos to life, enhancing the details and colors that the camera sensor captured.
My workflow typically starts in Adobe Lightroom or Camera Raw, where I tackle the basic adjustments. I always begin by correcting the white balance, aiming for a cooler tone to emphasize the blues and purples of the night sky, unless there’s a specific ambient light source I want to preserve.
Then, I’ll adjust the exposure, often boosting the shadows to reveal more foreground detail and pulling back the highlights slightly to prevent clipping in brighter areas like the moon.
Next up are the texture, clarity, and dehaze sliders – these are absolute gold for making stars pop and adding definition to the Milky Way. I’ve found that a gentle touch is key here; overdoing it can make your image look unnatural and gritty.
Sometimes, I’ll even create a radial filter or gradient mask to selectively enhance just the sky, separating it from the foreground for more precise adjustments.
It’s a delicate dance, really, ensuring the stars shine brightly without introducing excessive noise, and making sure the overall image retains a natural, awe-inspiring feel.
Noise Reduction and Color Grading: The Finishing Touches
Noise reduction is an essential step in night photography post-processing. Even with the best cameras and settings, high ISOs inevitably introduce some digital noise.
I typically use a combination of luminance and color noise reduction in Lightroom or a dedicated noise reduction plugin like Topaz Denoise AI. Again, subtlety is crucial.
Too much noise reduction can lead to a plasticky, smeary look, losing valuable detail. I aim for a balance, reducing enough noise to make the image clean while preserving the sharpness of the stars.
Once the noise is tamed, I dive into color grading. This is where I really infuse my personal style into the image. I often use the tone curve to fine-tune the contrast and create a subtle S-curve for punchier blacks and brighter whites.
Then, I’ll tweak the HSL (Hue, Saturation, Luminance) sliders, perhaps boosting the blues and purples in the sky, or desaturating distracting color casts.
Sometimes, a split toning effect, adding cool tones to the shadows and warm tones to the highlights, can create a really dynamic and appealing look. It’s a continuous learning process, always discovering new ways to enhance my images, but these core steps have consistently helped me transform raw night shots into captivating pieces of art.
Navigating the Night: Safety and Ethics Under the Stars
Prioritizing Personal Safety: Don’t Go Alone
Alright, let’s talk about something incredibly important that often gets overlooked in the excitement of capturing stunning nightscapes: safety. These sunset points, which are bustling with people during the day, can become incredibly isolated and even a bit eerie after dark.
My number one rule? Don’t go alone if you can avoid it. Having a buddy with you not only provides companionship but also an extra set of eyes and hands in case of an emergency.
I’ve had my fair share of minor mishaps—tripping over unseen roots, misplacing a lens cap in the dark, or even just needing help setting up a tricky shot.
A friend makes all the difference. Always let someone know where you’re going and when you expect to be back, even if you are going with someone. This simple step could be a lifesaver.
Carry a fully charged phone (and a power bank!), a headlamp with extra batteries, warm layers (it gets surprisingly cold at night, even after a warm day!), water, and some snacks.
It’s better to be overprepared than caught off guard by the unexpected challenges that come with being out in the wilderness after dark.
Respecting the Environment and Fellow Photographers
As much as we love capturing the beauty of nature, we also have a responsibility to protect it. This means practicing Leave No Trace principles: pack out everything you pack in, stay on designated trails, and avoid disturbing wildlife.
I’ve seen firsthand the damage that can be done when people aren’t mindful, and it truly breaks my heart. Beyond environmental ethics, there’s also an unspoken etiquette when you’re out shooting with other photographers.
Red headlamps are a night photographer’s best friend because they preserve night vision without casting bright white light that can ruin someone else’s long exposure.
If you must use a white light, be incredibly considerate and quick, pointing it downwards or away from other photographers’ setups. Avoid shining bright lights directly into other people’s frames, especially during long exposures – it’s a surefire way to make enemies!
A quick “heads up” or “light coming on” can go a long way. We’re all out there for the same reason—to capture incredible moments—so let’s be respectful of each other’s space and efforts.
After all, sharing these magical moments under the night sky is part of the joy of night photography.
Beyond the Stars: Creative Twists for Unique Nightscapes
Star Trails and Time-Lapses: Adding Dynamic Motion
While pin-sharp stars are often the goal, sometimes embracing the motion of the earth can lead to incredibly dramatic results. I’m talking about star trails!
Instead of trying to freeze the stars, you intentionally capture their apparent movement across the sky, creating beautiful concentric arcs around Polaris (in the Northern Hemisphere) or the celestial South Pole.
This involves much longer exposures, often stacking dozens or even hundreds of shorter exposures together in post-processing software, or taking one extremely long exposure if your camera can handle it.
The effect is mesmerizing, transforming the night sky into a swirling, cosmic artwork. Similarly, night time-lapses are an absolute joy to create. Imagine capturing the slow rotation of the stars, the subtle shift of the Milky Way, or even clouds drifting across a moonlit landscape, compressed into a short, stunning video.
It requires a lot of patience, tons of battery power, and a good intervalometer, but the final result is always worth the effort. It’s a fantastic way to add a dynamic, cinematic quality to your night photography portfolio, and it’s something I absolutely adore experimenting with, especially at those iconic sunset spots that lend themselves to grand, sweeping vistas.
Incorporating the Human Element: Storytelling with Light
Sometimes, the most powerful night photographs aren’t just about the stars, but about our connection to them. Incorporating a human element can add a profound sense of scale, wonder, and storytelling to your nightscapes.
This could be as simple as having a friend stand silhouetted against the Milky Way, or perhaps using a small headlamp to illuminate a person looking up at the sky.
I’ve often asked friends to pose for me, sometimes even just sitting quietly by a campfire under the stars, and those images often resonate the most with viewers.
It’s about creating a narrative, a moment that invites the viewer to imagine themselves in that scene, experiencing that same awe. Light painting a person can also be incredibly effective, carefully illuminating them just enough to stand out against the dark landscape without overpowering the natural beauty of the night sky.
The key here is balance: the human element should enhance, not distract from, the celestial spectacle. Experiment with different poses, positions, and lighting.
You’ll find that adding a person can transform a beautiful landscape into a deeply moving and relatable piece of art, making your night photography truly unique and memorable.
| Night Photography Challenge | My Go-To Solution | Key Benefit |
|---|---|---|
| Camera Shake | Sturdy Tripod & Remote Shutter | Guaranteed Sharpness for Long Exposures |
| Low Light Conditions | Fast, Wide-Angle Lens (f/2.8 or wider) | Maximizes Light Intake, Lowers ISO Needs |
| Digital Noise at High ISO | Strategic ISO (1600-6400) & Post-Processing Noise Reduction | Cleaner Images, Retains Detail |
| Uninteresting Foreground | Early Scouting & Subtle Light Painting | Adds Depth, Scale, and Storytelling |
| Star Trailing (Unintentional) | Careful Shutter Speed (“500 Rule” adjusted) | Pin-Sharp Stars |
| Getting Lost / Safety | Buddy System, Headlamp, Power Bank, Warm Clothes | Peace of Mind & Preparedness |
글을 마치며
And there you have it, fellow stargazers! My complete rundown of everything I’ve learned and loved about night photography over the years. From the gear I swear by to the settings that make the magic happen, and even the crucial steps to staying safe and respectful out there – it’s been a journey of discovery for me, and I hope it sparks your own adventures under the cosmos. Remember, the best camera is the one you have with you, and the best night photo is the one you actually take. So, pack your bags, grab your tripod, and get out there to experience the breathtaking beauty that only the night sky can offer. You won’t regret it!
알아두면 쓸모 있는 정보
1. Check the Moon Phase: Always consult a moon phase calendar before planning your night photography trip. A full moon will beautifully light up your foreground but might wash out fainter stars, while a new moon offers the darkest skies perfect for the Milky Way. Plan accordingly for the effect you want!
2. Scout Your Location in Daylight: It’s a game-changer! Knowing your sunset point during the day allows you to identify compelling foreground elements, assess potential hazards, and plan your composition without fumbling in the dark. It truly saves a lot of headaches later on.
3. Dress in Layers: I can’t stress this enough! Even if it’s warm during the day, temperatures can plummet dramatically at night, especially in open areas. Warm clothing, gloves, and a hat are non-negotiable for comfort and endurance during those long exposures.
4. Understand Light Pollution Maps: Before heading out, check light pollution maps (like DarkSiteFinder.com) to locate the darkest skies near you. The further you are from city lights, the more stars you’ll see, and the clearer your Milky Way shots will be. It makes a huge difference!
5. Practice Your Camera Settings at Home: Get comfortable with changing your ISO, aperture, and shutter speed in manual mode without looking at your camera. This muscle memory is invaluable when you’re fumbling in the dark, trying to capture that fleeting moment under the stars.
중요 사항 정리
Night photography is a deeply rewarding experience that combines technical skill with artistic vision and a touch of adventure. Always prioritize safety, research your sunset points thoroughly, and invest in a sturdy tripod and a fast, wide-angle lens. Mastering manual camera settings for ISO, aperture, and shutter speed is key to capturing stunning celestial details. Don’t underestimate the power of a compelling foreground and creative light painting to elevate your compositions. Finally, remember that post-processing is where your images truly come to life, allowing you to enhance stars and reduce noise effectively. Embrace the journey, experiment with different techniques, and most importantly, enjoy the profound beauty of the night sky.